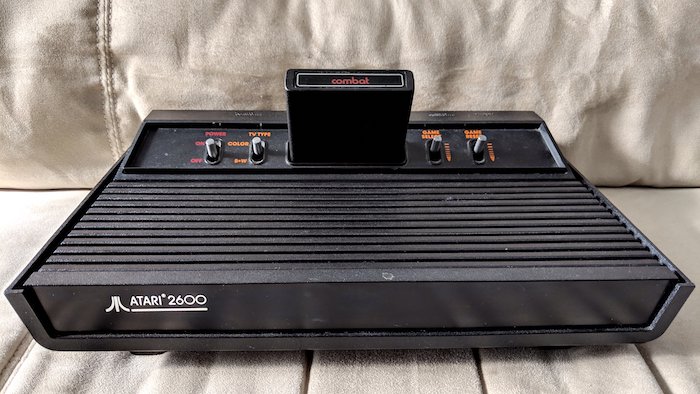
A while ago I got this beautiful Atari 2600 all-black, 4-switch model - often nicknamed “Darth Vader”, for obvious reasons:
The console generates a TV signal, which the TV has to tune in just like a normal over-the-air channel. It was quite convenient at the time (and quality was good enough for the TV sets we had), but modern TVs show degradation - not to mention some can’t even pick up the faint signal - I had to hook mine to a VCR that would decode the signal into A/V.
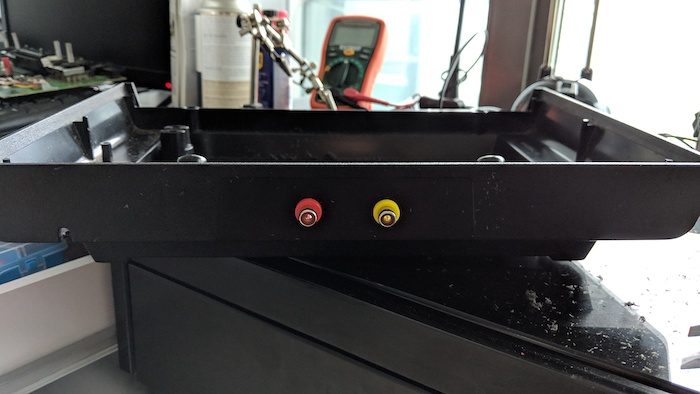
That quirky setup led me to make the popular A/V conversion (“mod”) - and, while at it, replace the power adaptor (with one that I can actually keep on the wall without fear of burning down the house) and capacitors (something that should be done to any vintage electronics that you want to keep humming).
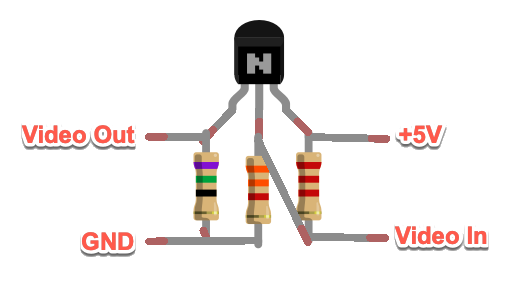
There are different types of of mods, varying in how they mix (or split) the video and audio signal and what sort of output they generate. I opted to get an A/V output from the signals mixed by the Atari board (but before they get modulated into a TV signal), with the video one amplified by a single transistor and a couple resistors.
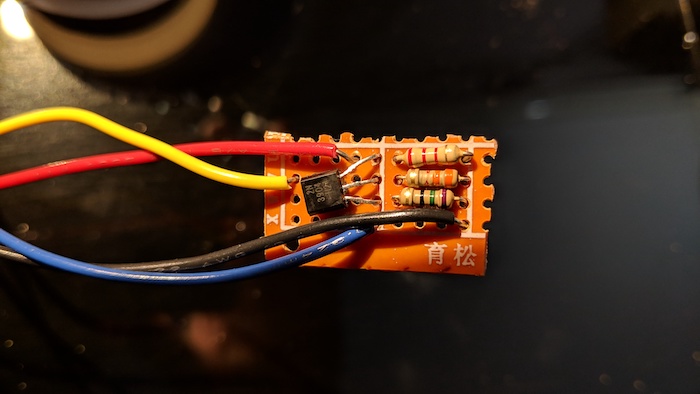
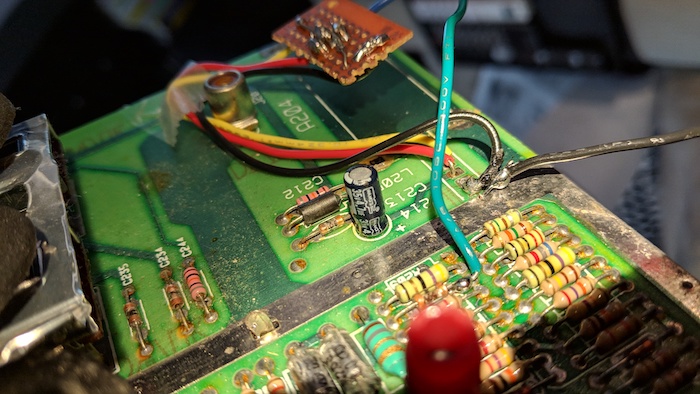
I based my mod on this version, which throws in a third 75Ω resistor that adjusts the impedance. Following the schematics there, I aligned the components like this (transistor is a 2N3904, flat side up; resistors are, from left to right, 75Ω, 3K3Ω and 2K2Ω):
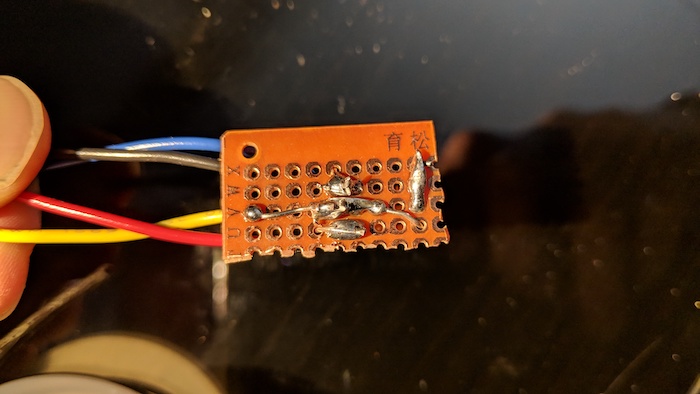
There are ready-made circuit boards, but I just cut a piece of protoboard. Hint: don’t solder the cables like I did - instead, follow the “strain relief” tip here for better securing.
The layout reduced the number of connections, so I could just throw an extra gob of solder over the terminals before cutting to make the jumper connections. Maybe I could have used a little less solder, but heh, it worked.
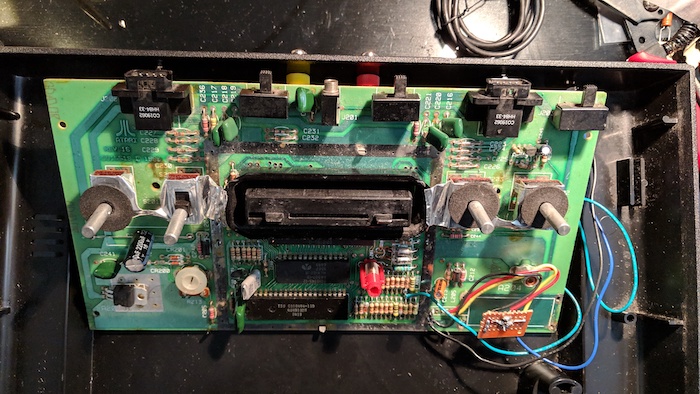
You need to pick up Video In and +5V/GND from the Atari board. Mine was a Rev 16, which has those three right on the connector of the RF box. That box had to be removed anyway, and doing so opened some space for the protoboard.
Audio comes straight from the Atari board into the inner part of the audio jack. I strongly recommend checking this mod assembly guide to figure out where to pick it up in your particular model/board revision.
The guide also helps figuring out which components to remove in order to reduce interference. I was able to test before removing anything from the board (just disconnected the RF box, something easy to revert if it did’t work). I just cut one resistor (R209) and one transistor (Q202).
This is a good moment to replace the capacitors. Again, each model has its own set, but this thread has it figured out. I could not find a bulky C243 (guess the technology for eletrolytics improved), but stretching the legs on the modern one allowed me to solder it.
You can find a lot of Atari 2600 power brick replacements online. But most of them have short cables, so I reused the original’s loooong cord on a high quality 2A power supply) with the proper adapter. Just ensure that it supplies 9V and a minimum of 0.5A with polarity as labeled on the original (⊖-outside, ⊕-inside).
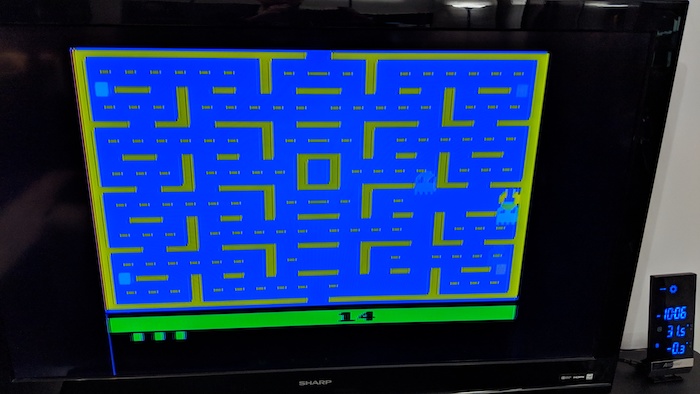
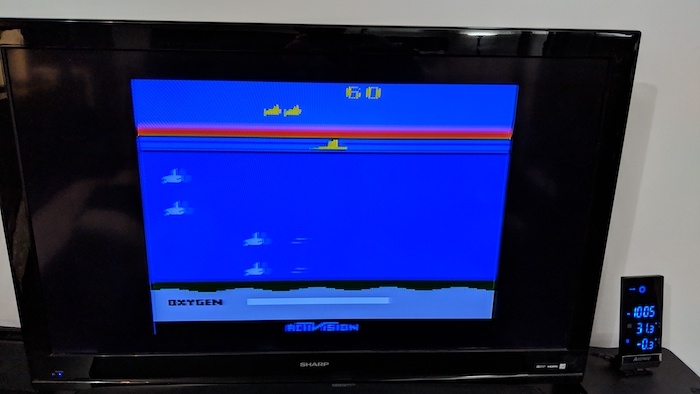
The most unexpected improvement was in audio quality. Even without a second audio jack, I get much better sound now that what I had with RF. Image has almost no artifacts now (it seems the occasional faint vertical line/shadow is a fact of life unless you go with more sophisticated mods.
Personally, I’m pretty happy with the results I got:
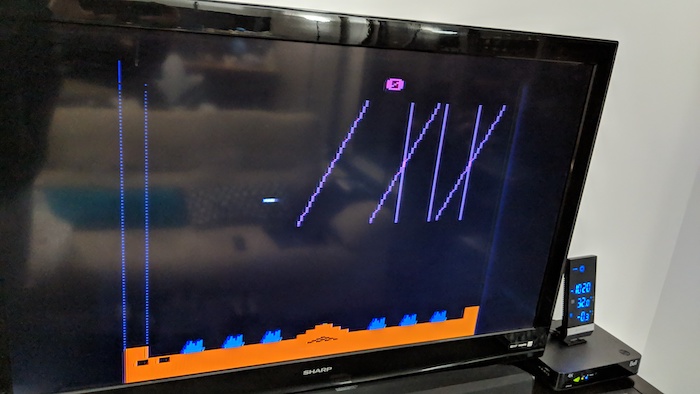
My friends were also super happy:

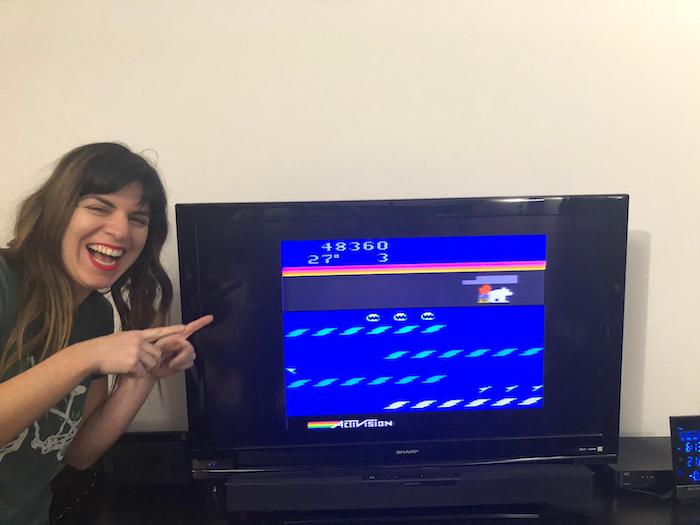
One of them got enough points in Frostbite to earn an Activision Patch 😁. Too bad we are a few decades late to send a picture to Actvision, but here are the proof and her honorary patch.

Comments
Scant S/A
Cool
Hans Peter Oelkers Bonini
Uma dica, para remover a imagem fantasma, ligar a entrada do C44 na base do transistor.
Hans Peter Oelkers Bonini
No caso do americano o C214.
chesterbr
Ah, e eu longe de casa agora! Vou tentar assim que estiver por lá, obrigado! :-)
chesterbr
Finalmente consegui um tempo para tentar, haha.
Ligando a base (pino central) do transistor em qualquer pino do C214, a tela toda desaparece,
Acho que não rolou. Mas obrigado pela dica, espero que funcione pra alguém, e sigo com essas linhas horizontais estranhas - acho que parte da experiência do Atari é ter algum artefato estranho! :-)
Hans Peter Oelkers Bonini
Pós resistor junto a entrada do sinal de vídeo
chesterbr
Desculpe, não entendi 😔
Hans Peter Oelkers Bonini
Você liga a entrada de sinal do C214 à base do transistor junto ao sinal de vídeo, após o resistor.
Hans Peter Oelkers Bonini
Se desaparecer a imagem, procure algum resistor ou capacitor por perto (circuito de filtragem de video do atari) e veja se algum deles estabiliza o sinal. Mas o ideal é o C214.
chesterbr
Infelizmente, nenhum ponto produziu melhoria no sentido de eliminar aquele artefato. Mas obrigado por tentar! :-)