This was a rough year for me, so I haven’t done much regarding hobby projects. But my BFFs had a Switch Pro Controller intermittently failing in one direction. I saw this before on a Wii U, so I offered to repair when I had the chance.
Unlike the Wii U (which had convenient plug-in stick units), the Pro Controller ones are soldered, so basic (de-)soldering skills are needed. On the plus side, the electronics aren’t nearly as crammed - plus you aren’t risking an irreplaceable part of the system, so as long as you used a soldering iron before, it can be done.
The replacement stick will take some time to arrive. Use it to watch someone taking the controller apart, so you know what to expect when it’s your turn.
When the time comes: remove the handles (one screw each) and the back transparent plate (four screws) screws, getting access to the battery compartment. Then, remove the battery and the three screws (two on the top, one below), jiggle a bit and you’ll separate the top part from the bottom.
You are halfway towards your goal, but watch out: the two parts are connected by a tiny flat cable (which you don’t want to damage). Disconnect it from the bottom (so it stays out of your way during the soldering work). Important: don’t use any tools, just your finger and don’t force it. See this video and/or search for “how to open/close a ZIF connector”.
Doing it right, you’ll see this (click pics to enlarge):
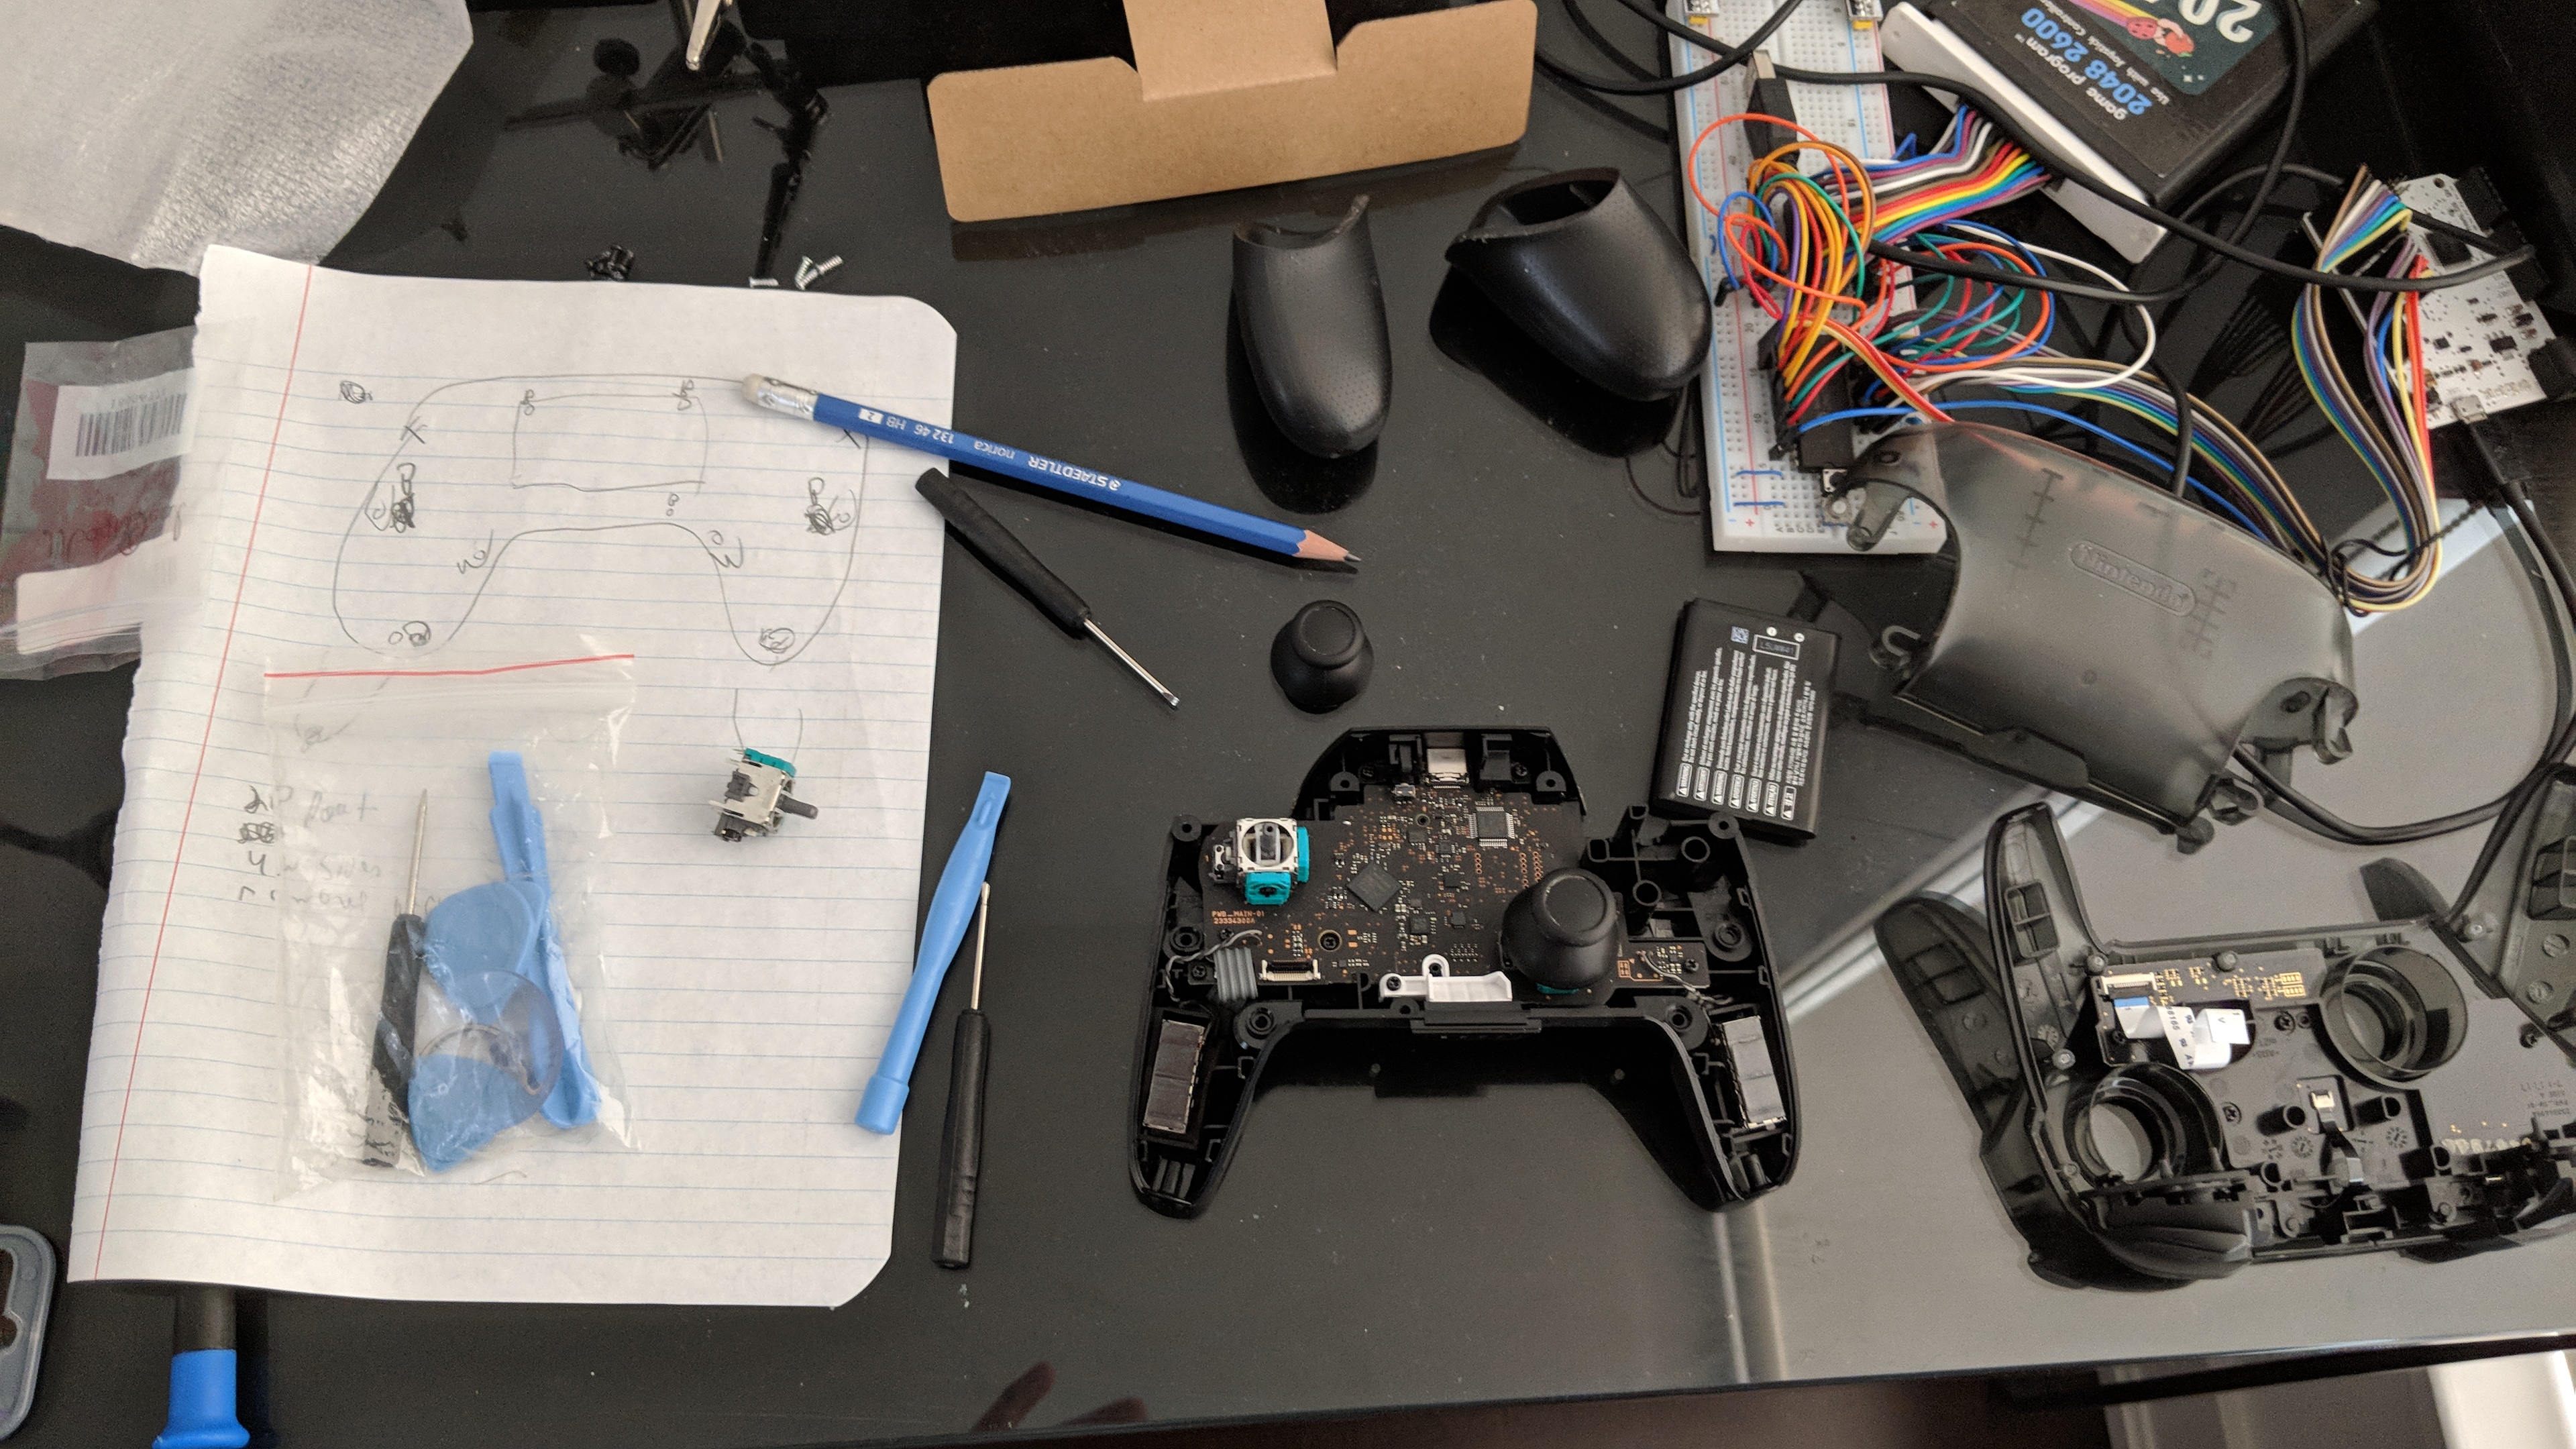
Notice there are also cable connecting the board to the rumble motors. You’d better leave those alone, and just remove the screw on the white piece and the three screws holding the board in place. It will still be locked to the plastic because the USB connector (in the front) will be inset. Again, a bit of jiggling should pop it out. Turn it towards you, like this:

The soldering points for the left and right stick are easy to spot (and remove). These days, my favorite tool for that is a cheap de-soldering iron with built-in squeeze, but use whatever works for you. Just be careful not to mix left and right if you turn the board around.
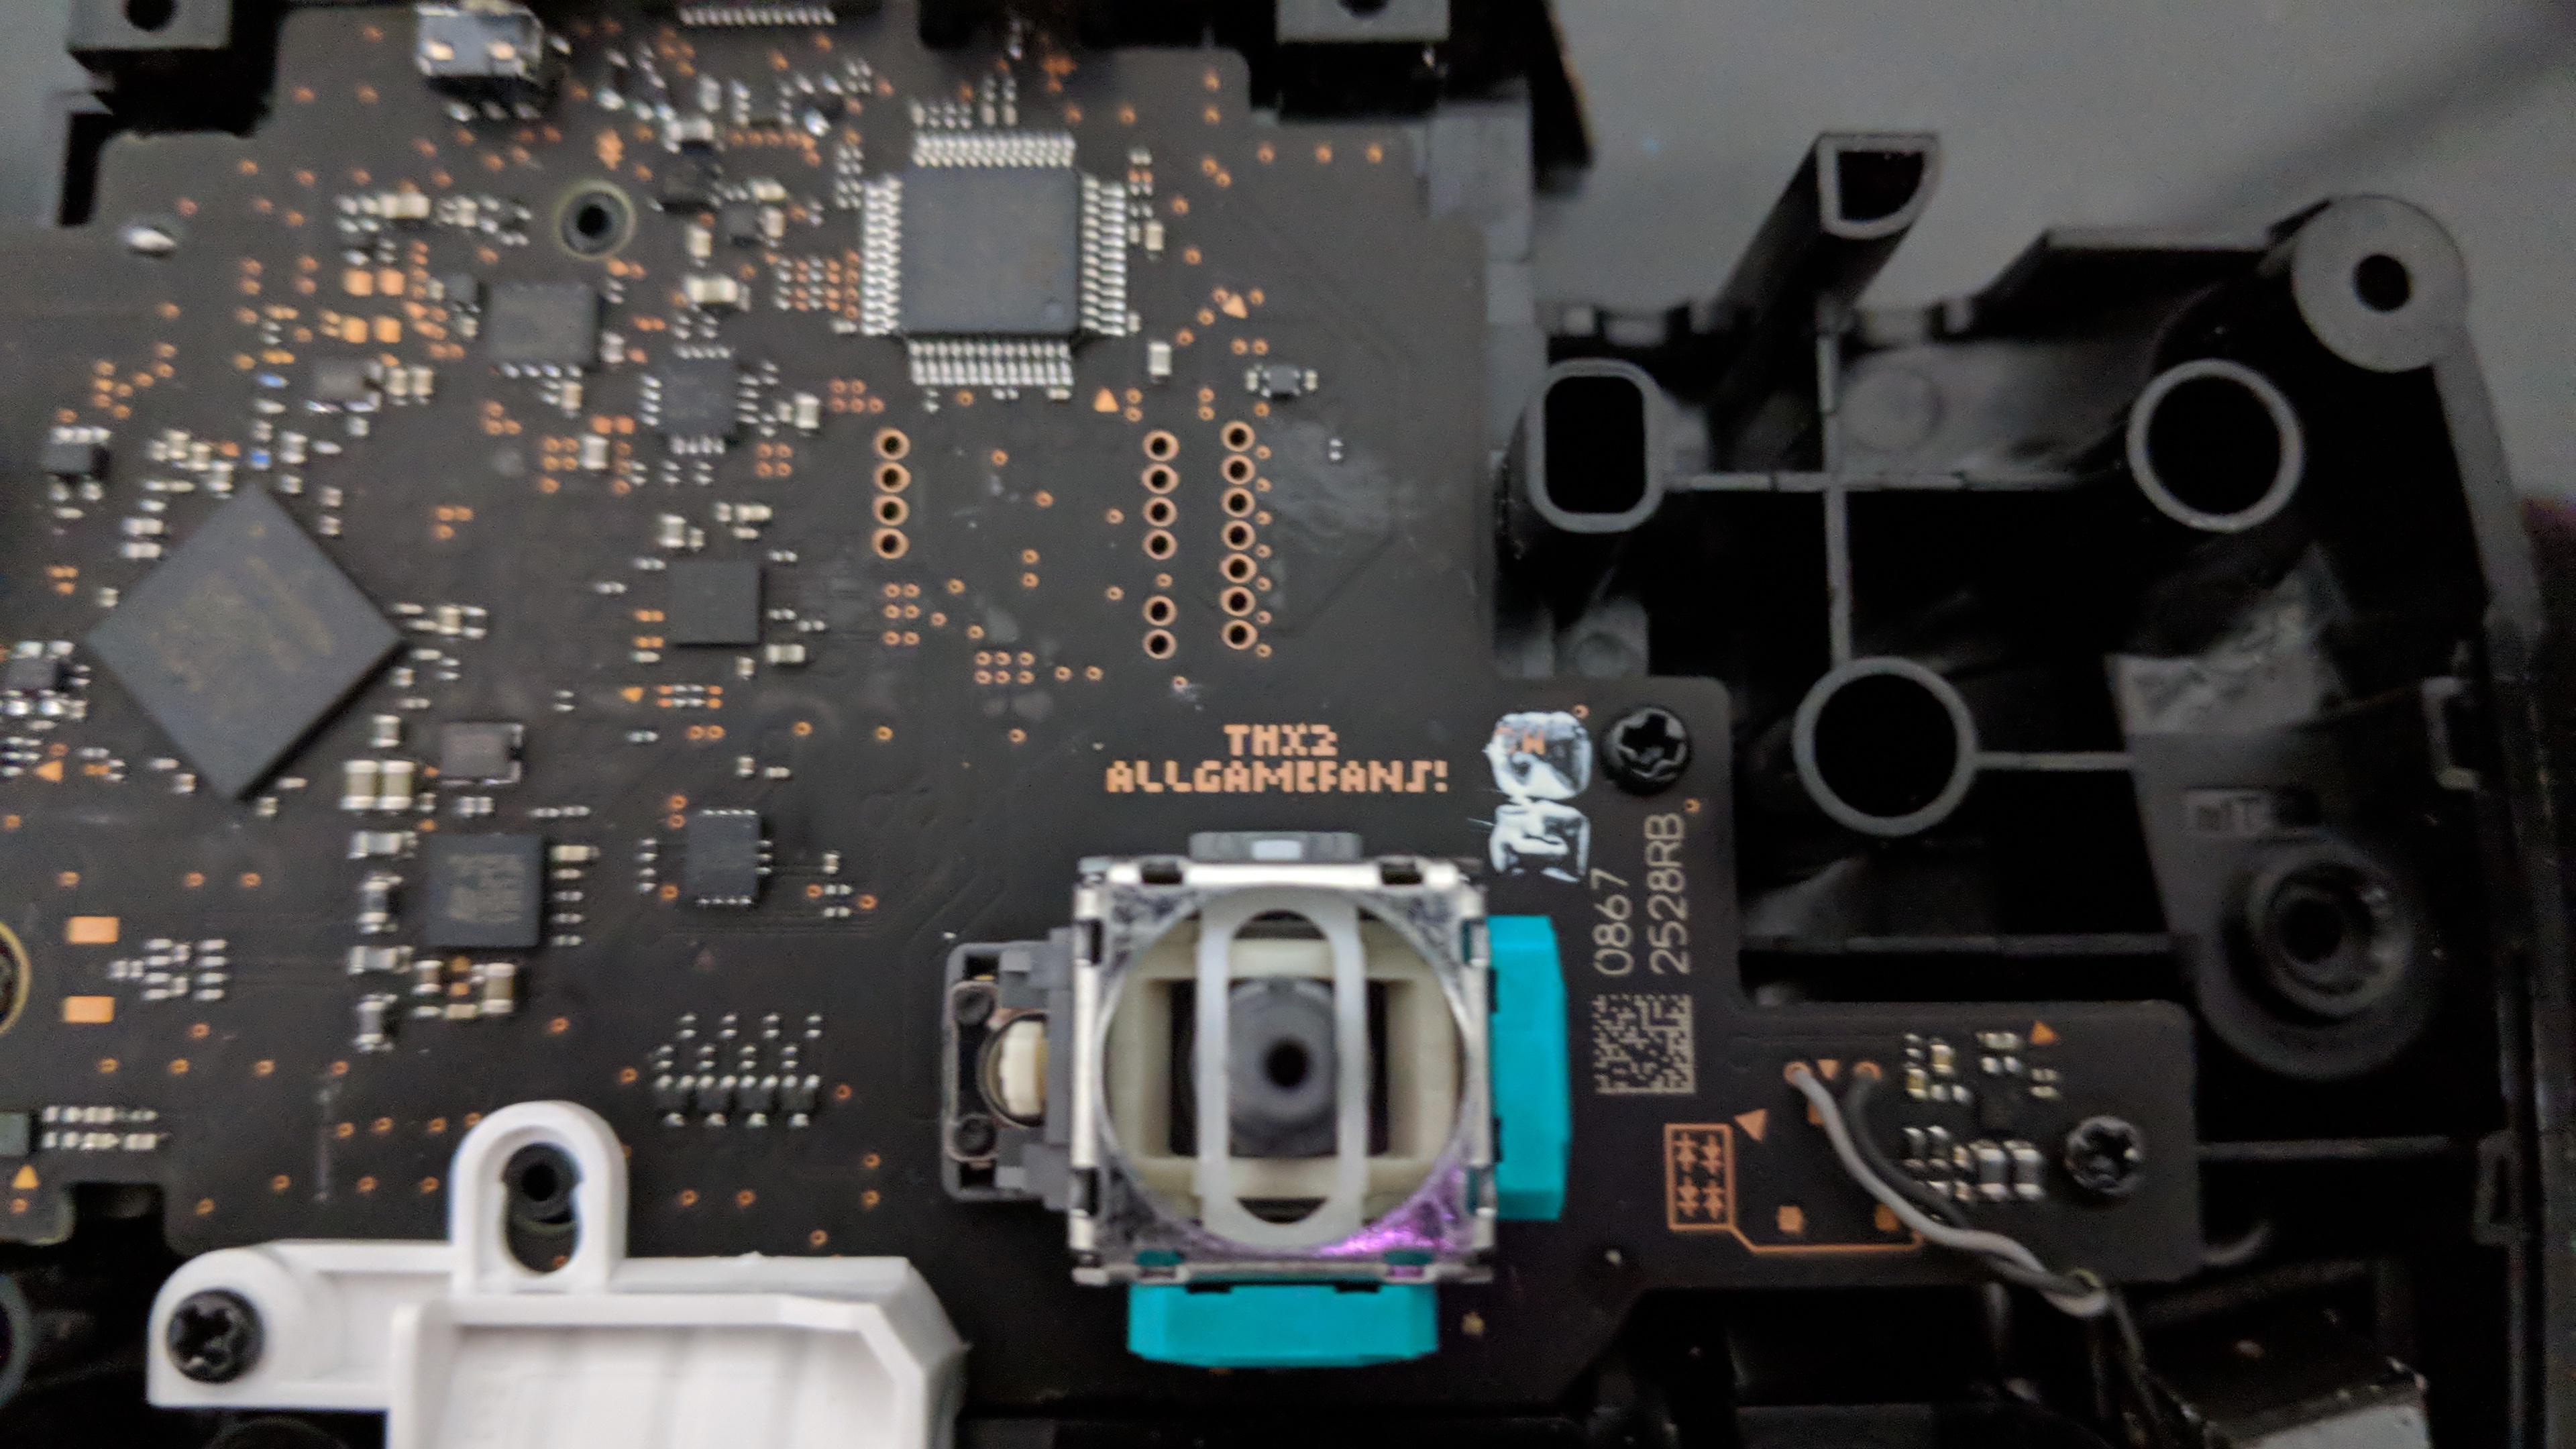
Solder the new stick, then apply the reverse steps. Don’t forget to put the flat cable back. Again: no tools, no force, just gently insert and let the flap go down. Use the opportunity to see the secret message (spoiler available by clicking the picture below).
The white screws go on the back plate, all other screws are the black ones (didn’t check the handles, since the screws stayed in place). Be gentle, and you should have the controller working just like new, for just a few bucks and a bit of time (which you’d be wasting on a game anyway if the controller wasn’t busted 😛).
Comments
MrPokeboy8
So how were the results using the replacement joystick? I recently did this myself using one from a different seller, but the capable range on mine is quite a bit lower than the original; doesn't reach as far and needs software calibration. I need to test on another Switch since mine is broken currently.
I think it's important to detail the side with "ALPS" says "73 4E" instead of on the originals saying "76 1E" even in another video teardown. I also have another with "73 6E" The bottom of the joysticks also have identification, but I've already soldered the "73 4E" in; original says "4 H" and my extra says "2 A"
chesterbr
Hey, mine also required the software calibration, but once I did, it worked 100% - on the calibration screen it stays centered, and I can reach any point on the circle with ease. But maybe I'm not as sensitive to the range as you are (I was mostly concerned with the controller drifting on its own, which doesn't happen anymore), unless you didn't get the same results (in that case, it may be a faulty / bad part, I suppose).
Unfortunately, I didn't really think about checking the numbers (and I didn't save the original one), but I just (naively) assumed it would work. Hope you can figure it out!
chesterbr
when I said "drifting", I actualy meant "failing" (I had a non-pro JoyCon that was drifting and was also fixed, so I mixed that up in the answer)
MrPokeboy8
I was able to test on a working Switch (need to repair mine) and calibration is not possible due to the short reach of this replacement. Though, connecting to my PC via Bluetooth and using Windows controller calibration showed results nearly perfect with only a little more jitter on the deadzone in comparison. Since the Switch was unable to perform calibration using its own way, this joystick is effectively useless to me. I've already started a dispute with the seller and ordered from another which supposedly tested theirs, supported by the pictures listed being original and having solder left on some pins. I'll likely be soldering on the "73 6E" very soon to test it out.
I also confirmed that despite another teardown having "76 1E," just like mine, my cousin's controller was "72 6E." Due to this, it is my conclusion that there are some selling defective parts thrown by Nintendo that don't meet Nintendo's standard. I do not doubt the ones I got are authentic ALPS joysticks, but mine seems to have been a bad batch sold as original and new.
I'll keep logging here more details of this venture.
Brando
I just tried replacing the joystick on my pro controller that was having random drift issues. I bought the replacement from another seller and like the other poster here, the replacement doesn't have full range of motion and can't reach the outside of the circle to calibrate. The number on the original part was "63 6E" and the new one was "73 7h". Not sure what these mean but I'm ordering one from the source in this post and will try again.
chesterbr
Oh, that's sad to hear. Wish I had taken note of the number on the part that worked (which is on a controller that isn't mine, so I can't disassemble it to check), but let's keep grabbing this info and we may crack whether the numbers relate to the success rate here.
Happytohelp101
ALPS RKJXV1224005 is there standard switch.
You have to Watch your soldering temperature. You could damage the Potentiometer. Solder at max 350 and use water based flux. A 2 sec hit is all you need. 72 E3 or what ever is the batch number only I bet.
chesterbr
Appreciate the tips, in particular about the temperature! :-)
Brando
I received my order from ebay and the number on the side was "70 3E". Batch number sounds like a reasonable guess for what these mean. Regardless, after installing this one the joystick worked perfectly and could be calibrated! Other than the number on the side this item looked identical to the one I received from amazon. Maybe it got a little to hot when I tried to solder the first one or the part was just incorrect. Thanks for the tip on this repair Chester, glad to have my pro controller back to 100%!