- Part I: CPU (6507)
- Part II: Cartridge
- Part III: TIA (Video chip)
- Part IV: Clock and Composite Video
- Part V: RIOT (RAM, I/O, Timer) and Audio
- Part VI: Joystick, switches, fixes and wrapping up
Introduction
A year ago, Ben Heck hand-soldered an Atari 2600 on a protoboard (and, as usual, turned that into a portable console). The idea of manually re-assembling the console for which I had already hacked together a game and an emulator sounded very exciting (and educational) for me.
The show crew always publishes schematics for his projects, so while I waited for that, I started de-soldering the chips and cartrige conector (and a few extra components, why not?) from an old Atari Jr. board I had lying around. De-soldering is hard, but eventually it was done:
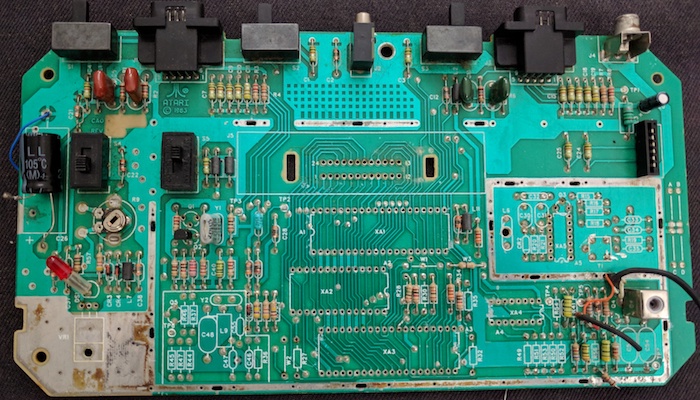
The schematics, however, never came. That episode’s GitHub repository only includes the original Atari’s block diagram, so I shelved the plan. But more recently I stumbled upon a series of blog posts in which David Barton describes how he built a 6502-based computer (a 65c02, to be precise) on a solder-less breadboard.
Those boards aren’t as sturdy or portable as traditional printed circuit boards, but the freedom to tinker (and make mistakes) sparked my flame once again, so I decided to give the project another shot. I started by reproducing his first two posts, but adapted to the Atari’s 6507 and adding a couple tweaks.