chester's blog

technology, travel, comics, books, math, web, software and ramblings

Electronics

Unlocking a dumb electric lock via Home Assistant (+ ESPHome + ESP8266)

15 Dec 2022

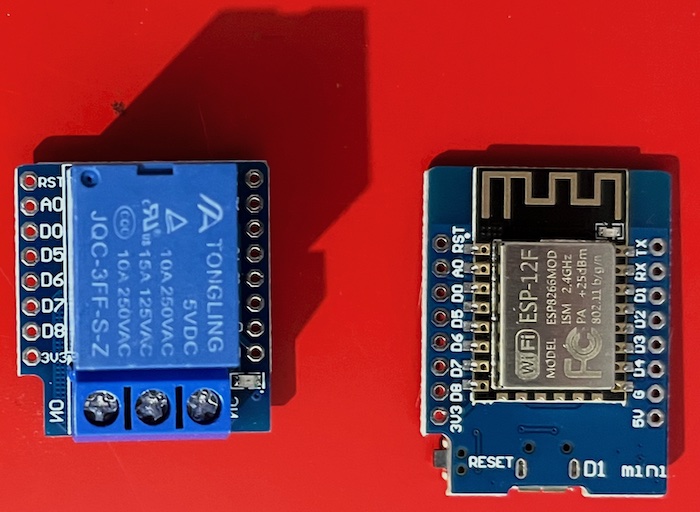
In the last post I described how I used an ESP8266 board to detect when my ancient doorbell rings, and trigger a notification on my phone. This time, I’m going to use the same board and a relay to unlock the front door, which, combined with the ring detection, will allow me to get deliveries past the front door, open it for visitors, and even unlock both that door and the internal one (which already has a smart lock) when I arrive home!

ESP8266 and relay shield

Making an old-school doorbell "ring" on Telegram (via Home Assistant + ESPHome + ESP8266)

29 Oct 2022

After years of living in single-room condos, we decided to try a more spacious, two-store house, which has a very old and low-tech doorbell: a button on the door triggers a “ding-dong” classic doorbell - very easy to miss if you are on the upper floor, causing all sorts of issues with deliveries.

Sure, I could make it ring louder, but it would be annoying for anyone on the lower floor. And I also want to automate other hurdles related to package delivery, so I decided to first get the doorbell to ring into my Home Assistant setup (where I can trigger all sorts of automations).

Got an NFC/RFID chip implanted in my hand

26 Feb 2022

RFID + NFC = NExT implant

NFC (the tech used in mobile phones for contactless payments and contact exchanges) and RFID (used in product identification/tracking, building access cards and many other things) are found everywhere these days. I played a little bit with cheap tags that can be used to interact with phones, but implants are getting more practical, so I decided to give one of them a go!

(I know, I know: technically, NFC “is” RFID - or, specifically, is a set of protocols built upon a subset of the RFID ones, but I’m going with the commonplace usage of the terms: “RFID” for the unregulated “low frequency” 120-150 kHz tags that use all sorts of proprietary protocols, “NFC” for the “high frequency” 13.56 Mhz devices using specifically NFC)

I didn’t want to limit myself to a single technology (or to go with two implants), but Dangerous Things (yes, that’s the company name 😅) sells the NExT: an implant with both an RFID chip (that can simulate - or “clone” - fobs and tags on the wild) and an NFC chip (which can store 888 bytes of data, accessible to any NFC reader I touch, including smartphones).
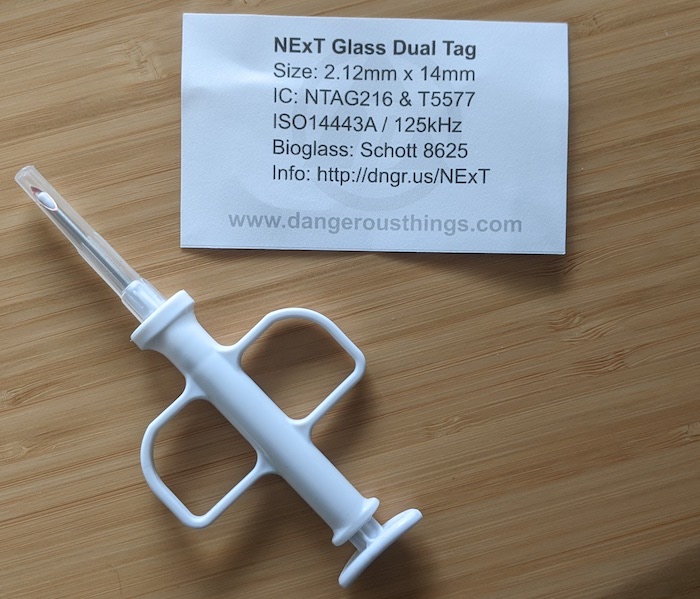
The contraption used to inject it (after the fact) and some specs

There are some limitations: its NFC can’t be used for payments (like, for example, the Walletmor), and the RFID can’t emulate super advanced security, or hold multiple tags, but the combination is enough for a lot of uses, plus it’s a field-tested set of chips that should be operational for years and years, so I chose it.

Atari 2600 on a breadboard, part VI: fixing the video, adding a joystick and wrapping up

26 Sep 2021

It has been a wild ride, and it finally comes to an end. Here are the final tweaks I’ve added to this project, which results in a mostly working Atari 2600. Most importantly, I learned a ton and had a lot of fun. If you came so far, I hope you did too!

Atari 2600 on a breadboard, part V: RIOT and Audio (and running actual games!)

12 Jul 2021

After Hello World

Now that I got Hello, World! running, I feel confident this project may actually succeed! 😅 The next step is to run an actual game, which requires wiring the last chip (and, due to the poor video I have so far, a sound circuit).

Atari 2600 on a breadboard, part IV: clock + composite video = Hello, World!

04 Jul 2021

TV Time

In the previous post, I had the CPU, cartridge and TIA wired and tested, but still needed the Arduino to make them tick and check the resuts. All those hex numbers were fun to debug, but let’s get to the real deal: plugging it to the TV.

Atari 2600 on a breadboard, part III: tidying up and adding the TIA (video chip)

25 Jun 2021

Tidying Up

In the previous posts I made the CPU work on the breadboard, then added a cartridge connector, all using jump wires - which can be easily reconnected, labeled, etc., but have a downside: they disconnect easily. Coupled with the equally flimsy cart connector, all my attempts at moving on with the project would result in failures.

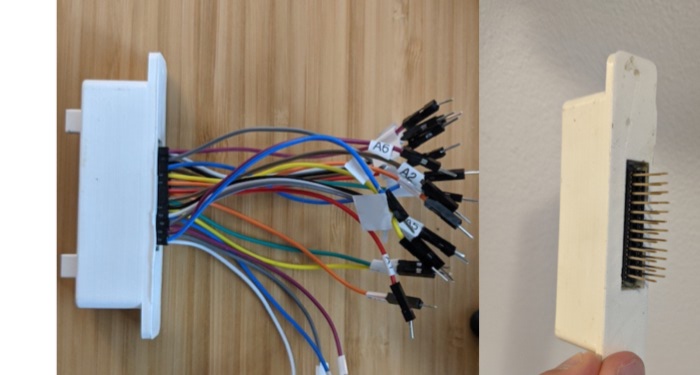
After seeing Ben Eater’s beautiful breadboard computers I decided to rewire the boards I already had. For that, I’d have to rethink my cartridge connector: instead of having the jumper cables going out of it (left), I got some long pin female headers that extended the pins so the connector now fits the board like any other chip (right):

cart, before and after

Atari 2600 on a breadboard, part II: reading a cart

14 Feb 2021

Previously…

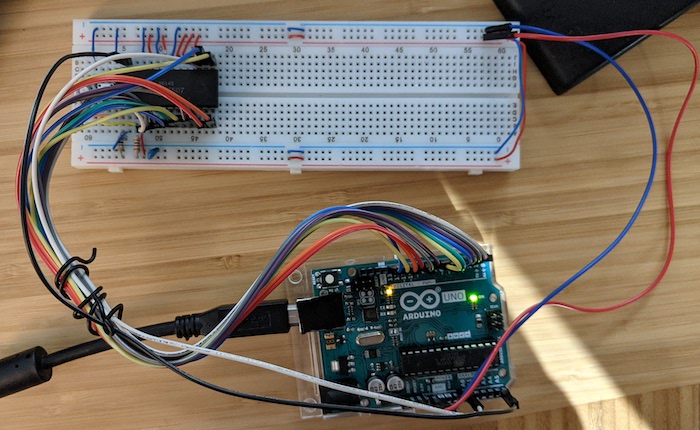
A long time ago I grabbed the three chips from a broken Atari 2600 (Jr.), to see if I could build an Atari with them on a solder-less “breadboard”. My first attempt (post here) was to drive the CPU with an Arduino, which showed the chip advancing through what it believes to be memory, but is actually just a single “no operation” (NOP) hard-wired instruction:

cleaner version of the 6507 memory walk on a breadboard

It took some time (between finding the right connector, 3D-printing a part, figuring out the wiring and fixing the Arduino software), but I finally moved on to the next step: plugging a real Atari cart and seeing some actual code running!

Building a classic XBox to USB adapter (to use a RedOctane Ignition DDR mat to a computer)

19 Jul 2020

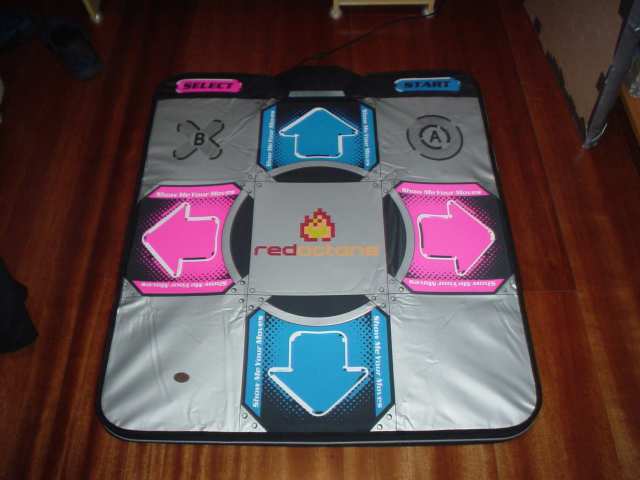
As a Dance Dance Revolution (DDR) enthusiast on its heyday, I spent a lot of time adapting dance pads to improve comfort and durability, until I got myself an Ignition pad. Its thick rubber interior, superior sensors and RedOctane (of Guitar Hero fame) quality resulted in no mis-/over-/continued registering of arrows, less knee strain and happier downstairs neighbours.

My Ignition pad from the 2000s

I sold that one years ago, but having some floor space and time now, I decided to buy a “new” one on eBay. Not having a Playstation these days, I planned to use Stepmania (the open-source DDR clone), but my mat was missing the USB adaptor. A Playstation-to-USB one gets recognized, but arrows do not register correctly.

The adaptor I needed would plug in the XBox connector (classic XBox controllers are quite close to USB in nature, as we’ll see below). They are near-impossible to find, but it seems the breakaway cable that came with the controller can be converted into such an adaptor.

Detecting TV power state via USB

03 Jun 2020

One convenient feature of Chromecast is that it turns on your TV automatically when you connect to it - as long as your TV has HDMI-CEC. Mine doesn’t, but it is already remote-controlled via Raspberry Pi, and thanks to Home Assistant, I can easily detect when the Chromecast is in use, so in theory I could just blast a command to the IR when it switches away from “off”.

There is just one problem: Home Assistant doesn’t know whether the TV is on or off. If it is already on when I start casting, sending the command will turn it off - the opposite of what I want. Also, I would like to turn the TV off when not using the Chromecast (something it doesn’t seem to do, even with HDMI-CEC).

(Cheap) 433Mhz Leak Detectors in Home Assistant via Arduino + OpenMQTTGateway (with Telegram alerts)

30 Jul 2019

Water incidents in a condo can be catastrophic, and surely things like shutting your main water valve when you go out for long periods and having the proper coverage in your insurance are important. But for added peace of mind, leak detectors aren’t a bad idea.

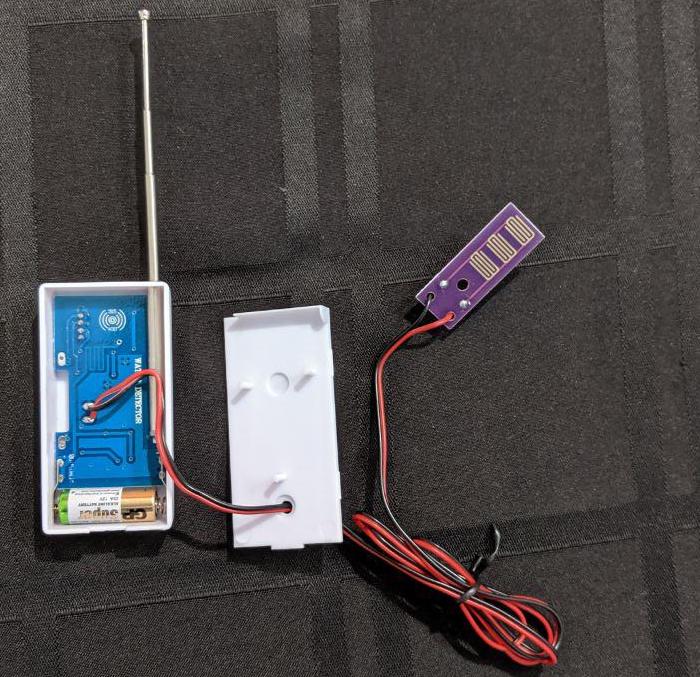
When I saw these $3 leak detectors on eBay, I decided to give them a shot. Not only for low price, but also because they used 433Mhz RF - the same tech I use to voice-control my lights from a Raspberry Pi.

Once they arrived, I ran RFSniffer and indeed, when they get wet, the Raspberry Pi prints a different value for each sensor - so it should be easy to wire up an alert system… right?

Fixing a loose Nintendo Switch Joy-Con

06 Jul 2019

The Nintendo Switch is surprisingly sturdy, but this is a common problem: joy-cons that still click (and oh, how I love that click) and snap to the console, but slide off when they shouldn’t (e.g., right in the middle of an online game match).

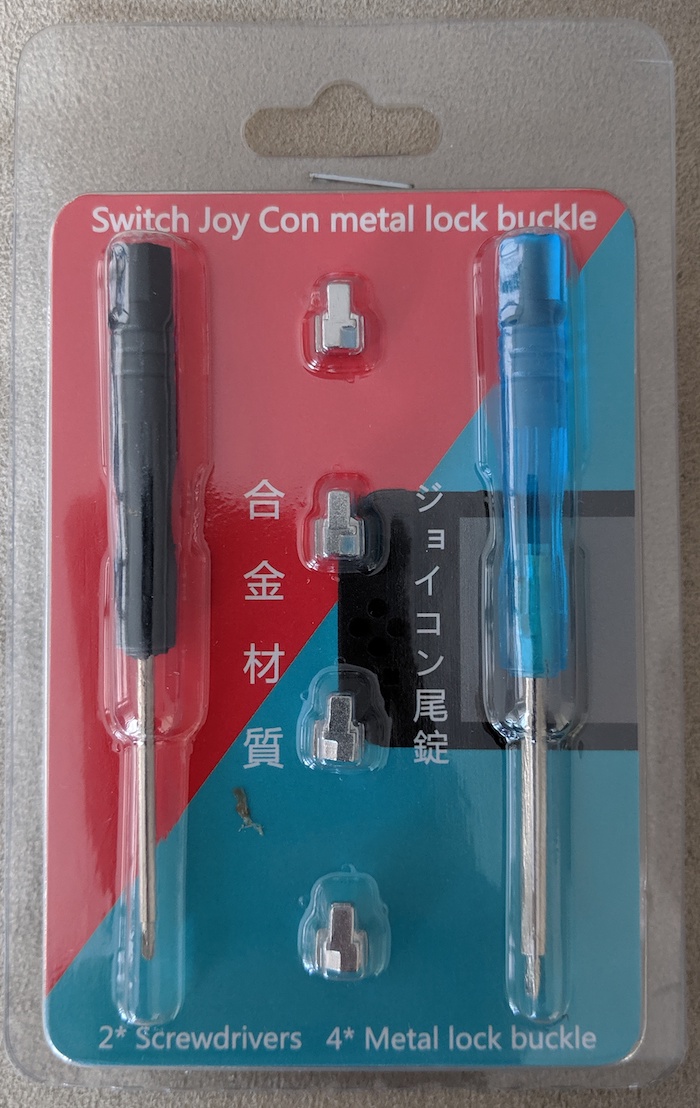
The cause is a plastic latch that erodes slightly with use (or maybe after it gets jammed on the backplate when you mis-connect it). There is a cheap replacement for that latch that you can order here.

The replacement latch is made of metal (which should have been Nintendo’s original choice), and several videos (like this one) show how to replace it. No soldering is required, just some careful screw removal and disassembly.

With the usual caveats (you do it on your own risk, it voids your warranty, etc.), here is how it went for me.

Renovating an Atari 2600 (AV mod + capacitor/power adaptor replacement)

18 Feb 2019

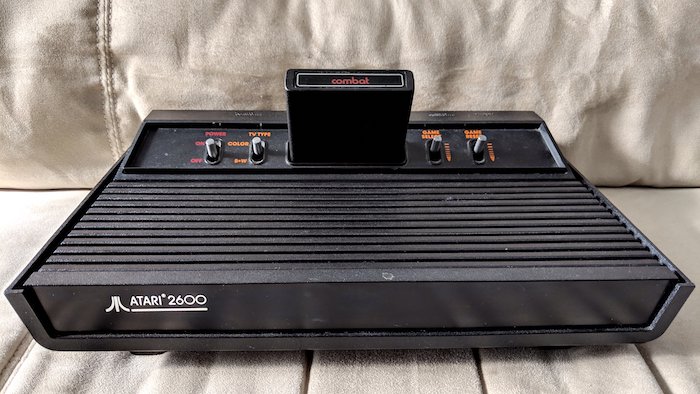
A while ago I got this beautiful Atari 2600 all-black, 4-switch model - often nicknamed “Darth Vader”, for obvious reasons:

The console generates a TV signal, which the TV has to tune in just like a normal over-the-air channel. It was quite convenient at the time (and quality was good enough for the TV sets we had), but modern TVs show degradation - not to mention some can’t even pick up the faint signal - I had to hook mine to a VCR that would decode the signal into A/V.

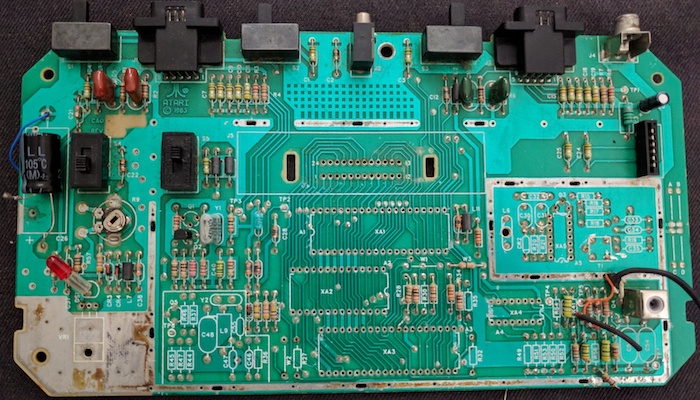
That quirky setup led me to make the popular A/V conversion (“mod”) - and, while at it, replace the power adaptor (with one that I can actually keep on the wall without fear of burning down the house) and capacitors (something that should be done to any vintage electronics that you want to keep humming).

Controlling RF outlets from a Raspberry Pi

26 Dec 2017

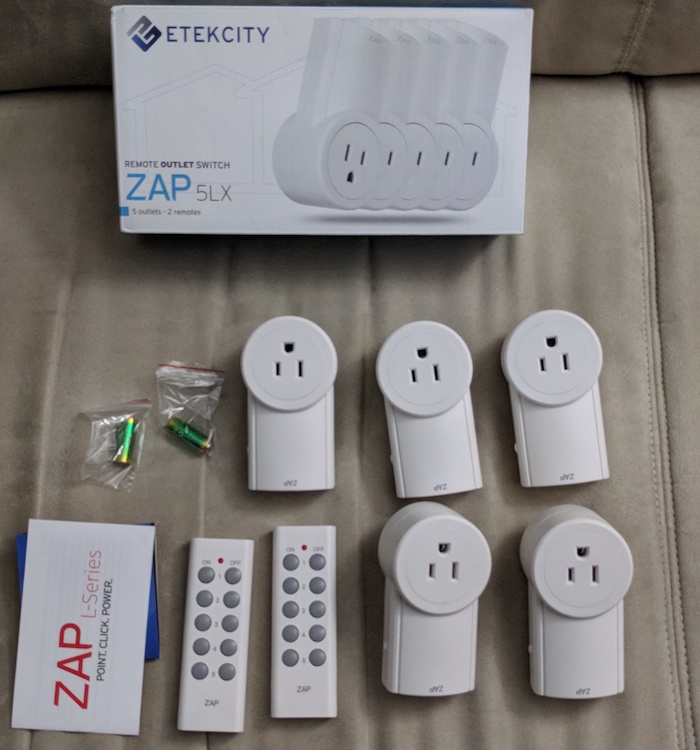
IKEA floor lamps aren’t bad - as long as your house has sufficient outlets with properly wired and positioned wall switches. Mine doesn’t 😐 and, being a renter, I can’t simply rewire them, so I decided to try the Etekcity RF-controlled outlet kit.

For less than CAD$ 60 you get five outlets, which can be turned on and off individually by the two included remotes. Not a bad deal, and sure an improvement from the odd switches (and the built-in ones on the lamps). But given I already control my TV and sound bar from Google Home with a Raspberry Pi, it wouldn’t be much of a stretch to also have voice control over the lights.

outlets

Motion-sensing, Arduino-based Washing Machine Alarm

22 Dec 2017

I don’t iron clothes. Heck, I don’t even own an iron - quickly folding clothes right when I remove them from the dryer works for most of them (and a steamer does the job when that fails).

Problem: my current machine has a very low and short audio warning, so I often miss when it is done, ending up with wrinkled clothes. 😔

I thought it wouldn’t be too hard to build a device that detected when the machine stopped moving and alerted me in a more extravagant way. Having never played with raw accelerometers before, I would at least have some fun trying!

Voice control for a non-smart TV (with Google Home, a Raspberry Pi, LIRC, nginx, Lua and IFTTT)

10 Dec 2017

Despite my privacy concerns, I could not resist the low price of the Google Home Mini. It is really convenient to control the ChromeCast with it, but turning my (non-smart) TV on/off, or switching the input between different devices still required reaching the remote…

…until I hacked a bit!

In a nutshell: IFTTT turns Google Home commands into HTTPS requests towards a Raspberry Pi. There, nginx triggers some Lua code that runs LIRC, which generates IR signals into a transistor that amplifies them to two IR LEDs. Complicated, but works!

Atari 2600 CPU running on a breadboard

06 Sep 2017

Introduction

A year ago, Ben Heck hand-soldered an Atari 2600 on a protoboard (and, as usual, turned that into a portable console). The idea of manually re-assembling the console for which I had already hacked together a game and an emulator sounded very exciting (and educational) for me.

The show crew always publishes schematics for his projects, so while I waited for that, I started de-soldering the chips and cartrige conector (and a few extra components, why not?) from an old Atari Jr. board I had lying around. De-soldering is hard, but eventually it was done:

An Atari VCS (Jr.) board, without several components

The schematics, however, never came. That episode’s GitHub repository only includes the original Atari’s block diagram, so I shelved the plan. But more recently I stumbled upon a series of blog posts in which David Barton describes how he built a 6502-based computer (a 65c02, to be precise) on a solder-less breadboard.

Those boards aren’t as sturdy or portable as traditional printed circuit boards, but the freedom to tinker (and make mistakes) sparked my flame once again, so I decided to give the project another shot. I started by reproducing his first two posts, but adapted to the Atari’s 6507 and adding a couple tweaks.

Unbricking a WNDR3700v3 (NETGEAR N600) wireless router

18 Mar 2017

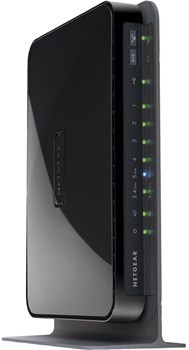
One day I decided to install an alternative firmware on my NETGEAR N600 in order to tweak lower-level settings and try to minimize frequent (and very frustrating) disconnections on Splatoon. But the setup failed, effectively bricking the router.

“No sweat”, I thought, “let me just put it into some sort of recovery mode and flash the original firmware into it”. For this router, the idea would be to transfer the firmware via TFTP - which works by setting up a computer with fixed TCP/IP configs and starting the transfer at the right time during the boot process.

That didn’t work either.

At that point, I realized this fix would require some physical hacking.

Connecting a classic (ADB) Apple keyboard to a modern (USB) PC using a regular Arduino

27 Dec 2016

When I saw this person building a Raspberry Pi inside a vintage Apple Keyboard, I thought it could be a comfortable way to play Apple II games on a TV. More important, I happen to have an Apple Extended Keyboard II just waiting for such an experiment…

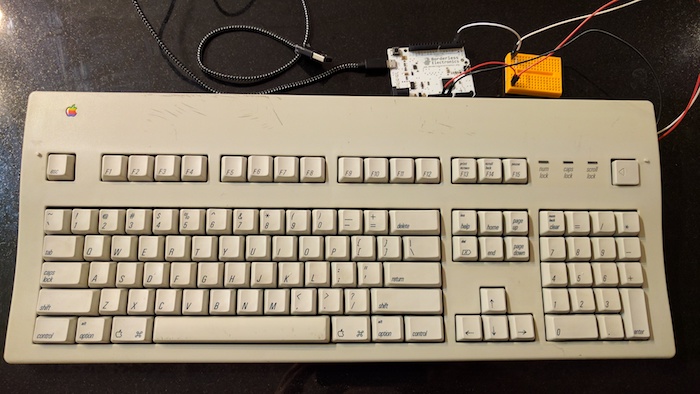
Keyboard + Arduino

My winter holiday plans did not include going outside, so I wanted to build it with parts I already had. But the hack uses an Arduino Pro Micro (with a little help of the TMK Keyboard Firmware Collection) as a converter between ADB (the interface used by the Apple IIGS and older Macs) and the familiar USB, and I only had a regular Arduino (actually, a Leonardo-compatible clone).

I wasn’t sure that would do the job, so before tearing the keyboard apart, I decided that my first experiment would be an attempt to connect it to my computer.

Wii U Gamepad (Left) Analog Stick Replacement

07 Feb 2016

Our Wii U Gamepad’s analog stick was intermittently failing to register, causing frustration right when I most needed fun and happiness. Recalibration didn’t help, and a new Gamepad would be expensive, so I tested my luck by replacing the analog stick with an aftermarket one.

It isn’t a super complex operation, but the components are quite delicate, requiring gentleness and attention. As usual, here is what I learned (and some tips):

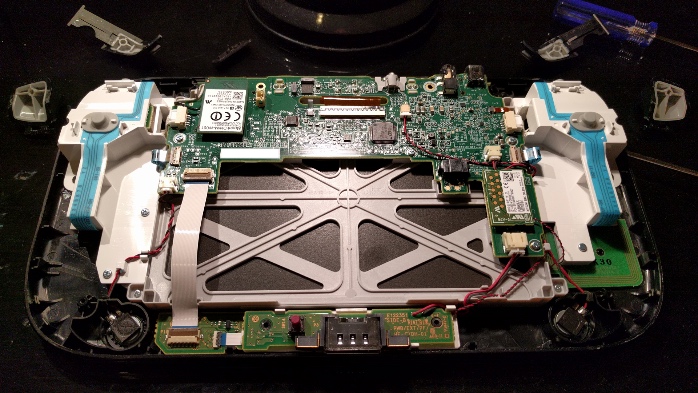
Here is how it looks inside

Fixing Screen Tear on a Pebble Classic With... Toilet Paper!

18 Nov 2015

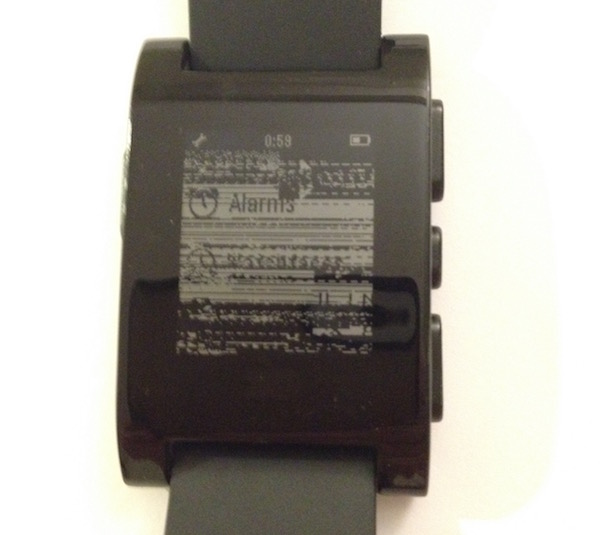
The first-generation Pebble (now dubbed Pebble Classic) is, in my opinion, the best smartwatch in terms of cost/benefit. Unfortunately, a few of them start to manifest screen tearing after a few months of use, and mine was one of the “lucky” ones:

At first, I thought it was a software issue, but the actual cause is that the screen connector does not cope well with the frequent vibration alerts. Such connectors are usually hard to fix/replace, but the gentleman on the video below realized that some pressure over the connector solved the issue. His ingenious choice of padding material caught my eye: small pieces of toilet paper!

Building a Bluetooth-Controlled Dry Ice Fog Machine

08 Apr 2015

Last weekend brought an interesting challenge: to create a remote-controlled, small-sized dry ice “fog” dispenser for a company event. In the end it wasn’t used, but I had a lot of fun building it anyway. Here is how it was done:

My Experience With PiScreen

14 Dec 2014

Even though you can plug a Raspberry Pi to any modern TV/monitor, its diminutive size screams for a smaller screen, ideally a touch-sensitive one. PiScreen was one of the first (relatively) inexpensive screens like that. Excited by the video below, I backed its KickStarter in April, received it in October and just found the time to build it.

I had some fun, and I will still do some interesting stuff with it. Some projects are more suited for it than others, so you may want to check my experience and decide whether it suits your needs.

Connecting a PC (DB15) Gamepad to a Raspberry Pi

17 Aug 2014

A Hack is Born

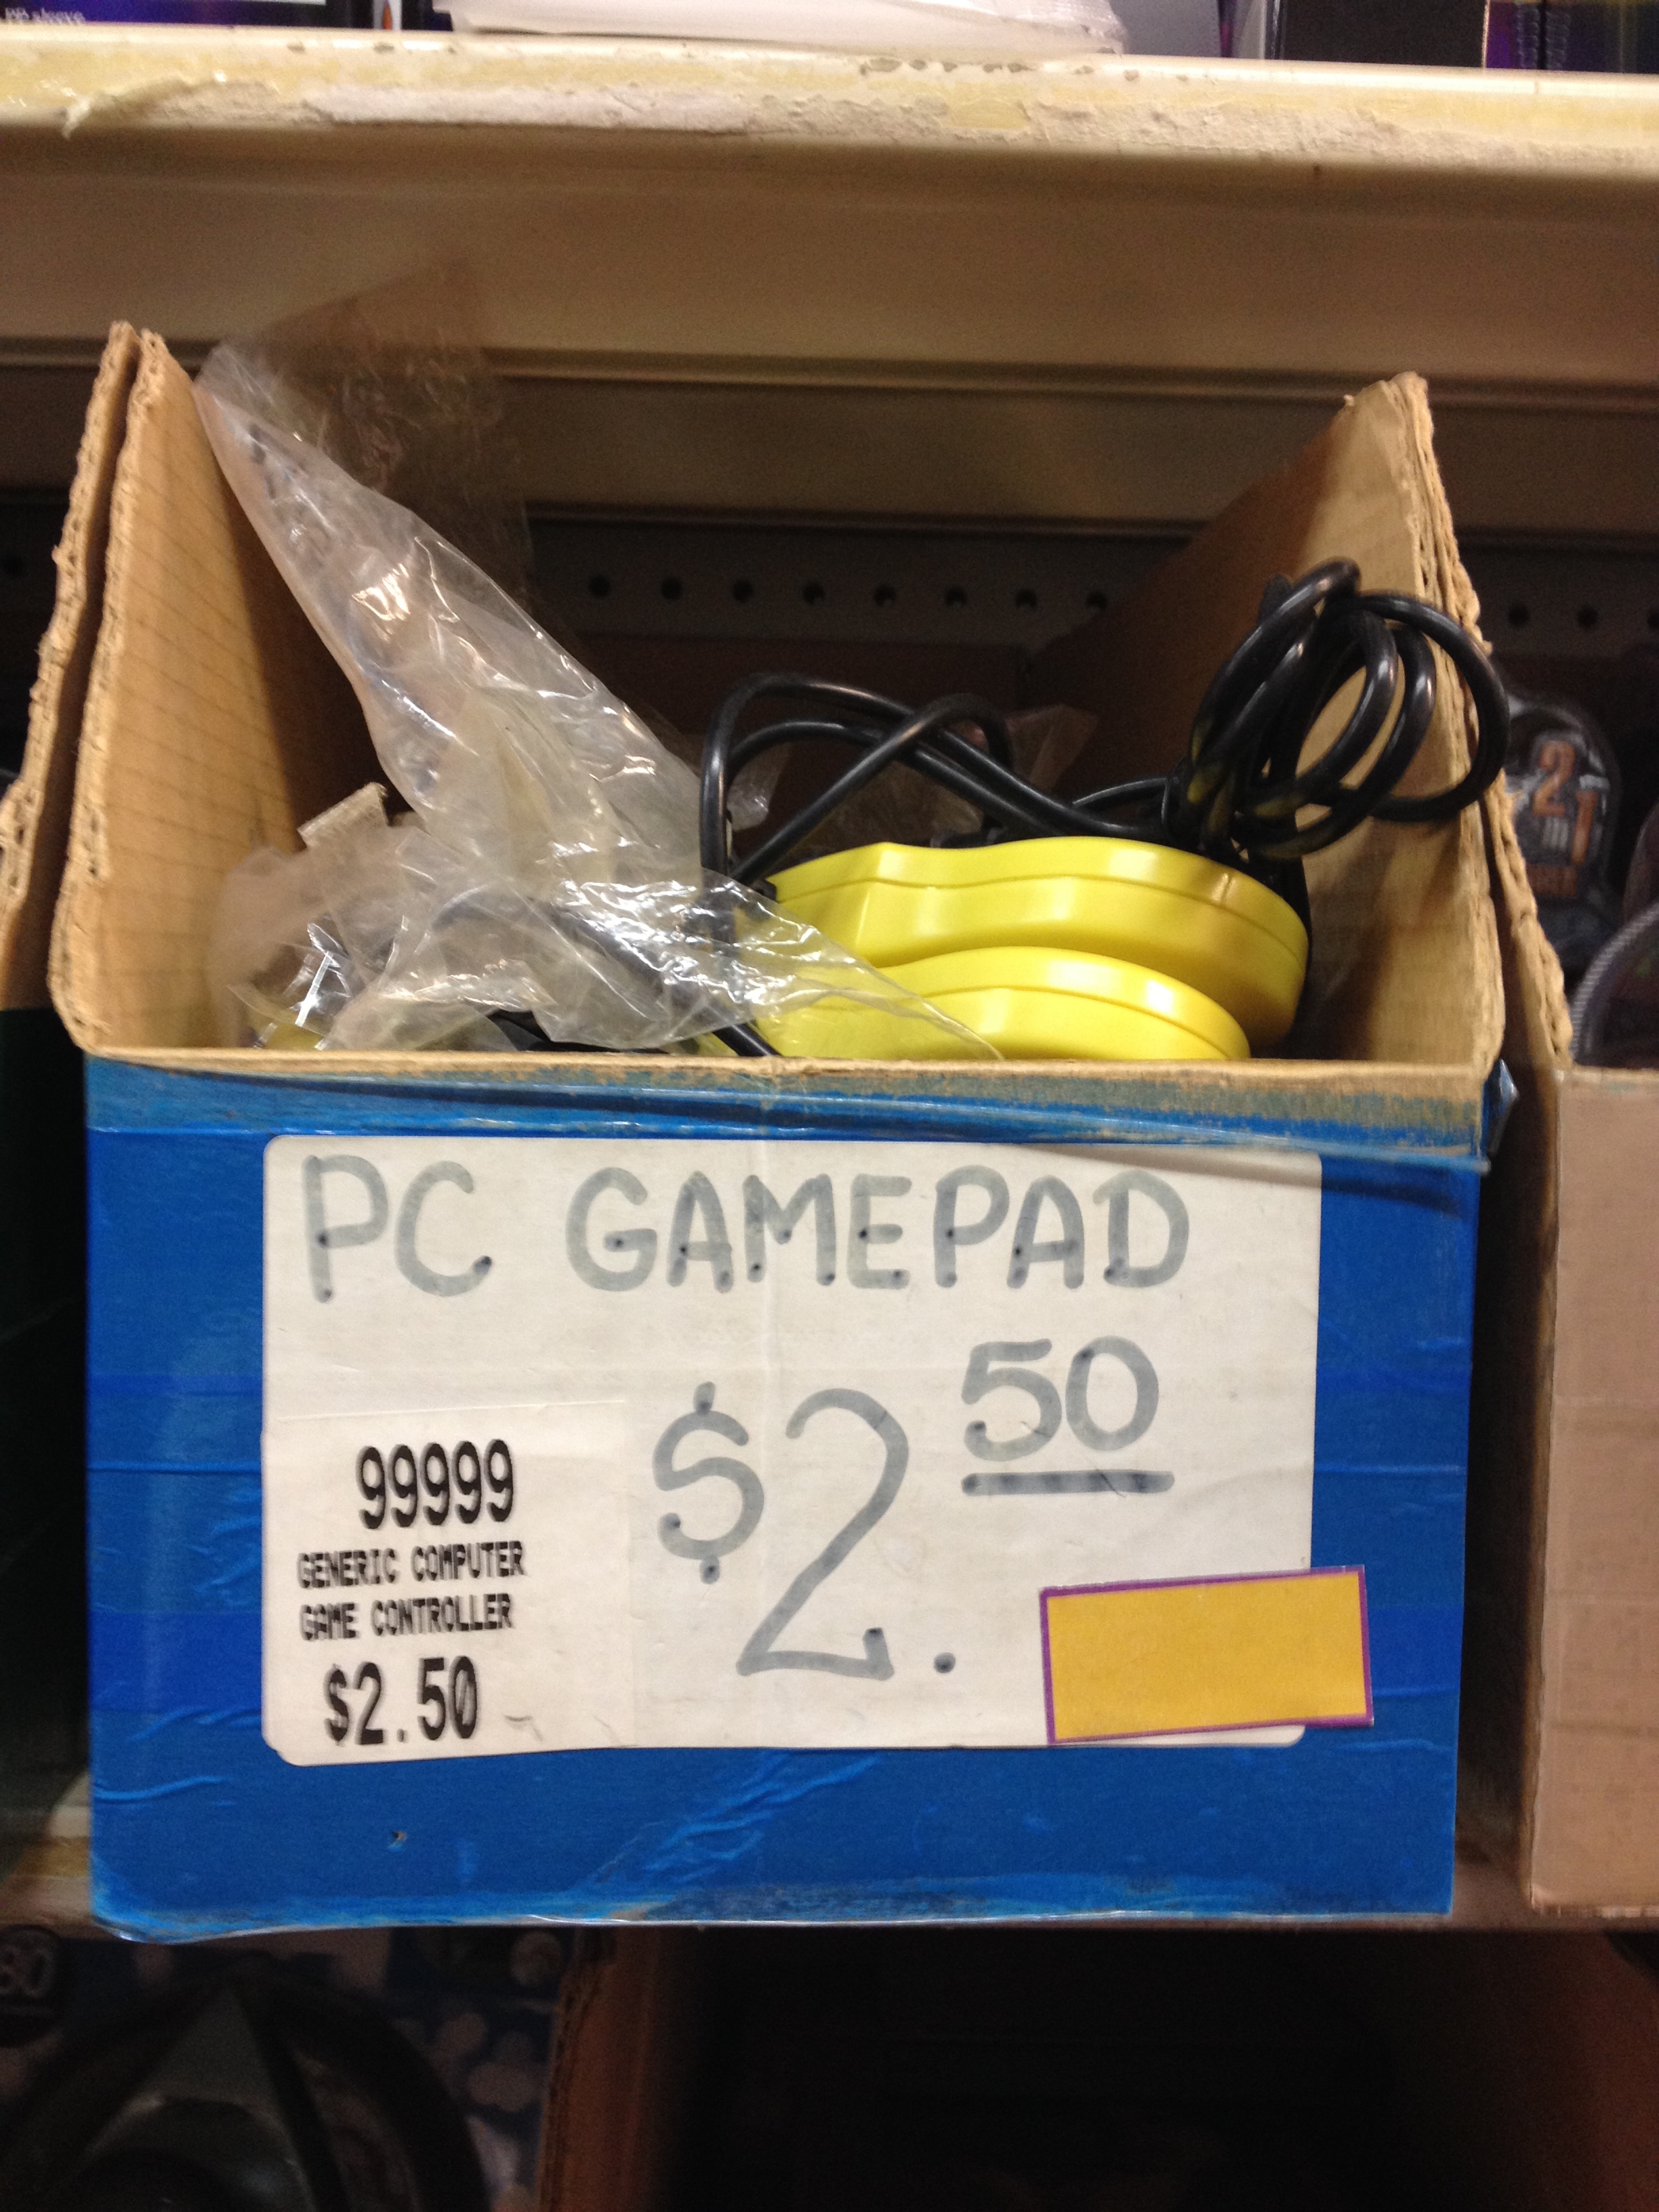
You never know what you’ll find at Active Surplus - a must-go Mecca for electronics enthusiasts in Toronto (pics). Last week, I stumbled upon a box full of PC gamepads - at $2.50 each!

They used an old connector (see below) that would require an USB adapter, but I had a better idea: connecting them to a Raspberry Pi. Bought one (discounted to $2) and hacking ensued.

Powering a Raspberry Pi

13 Apr 2013

The Raspberry Pi is powered through an standard micro-USB conector. That is great, since it allows you to use pretty much any phone charger you got lying around. Or at least one that supplies 700mA of current (maybe a bit more if you plug extra USB stuff on the Pi).

I thought I had it covered with my iPad charger and its juicy 2.1A, but the video below shows that voltage also plays a role (and that the iPad charger doesn’t really deliver in that respect):

Harmony: rodando jogos (e testando programas) num Atari de verdade

05 Nov 2011

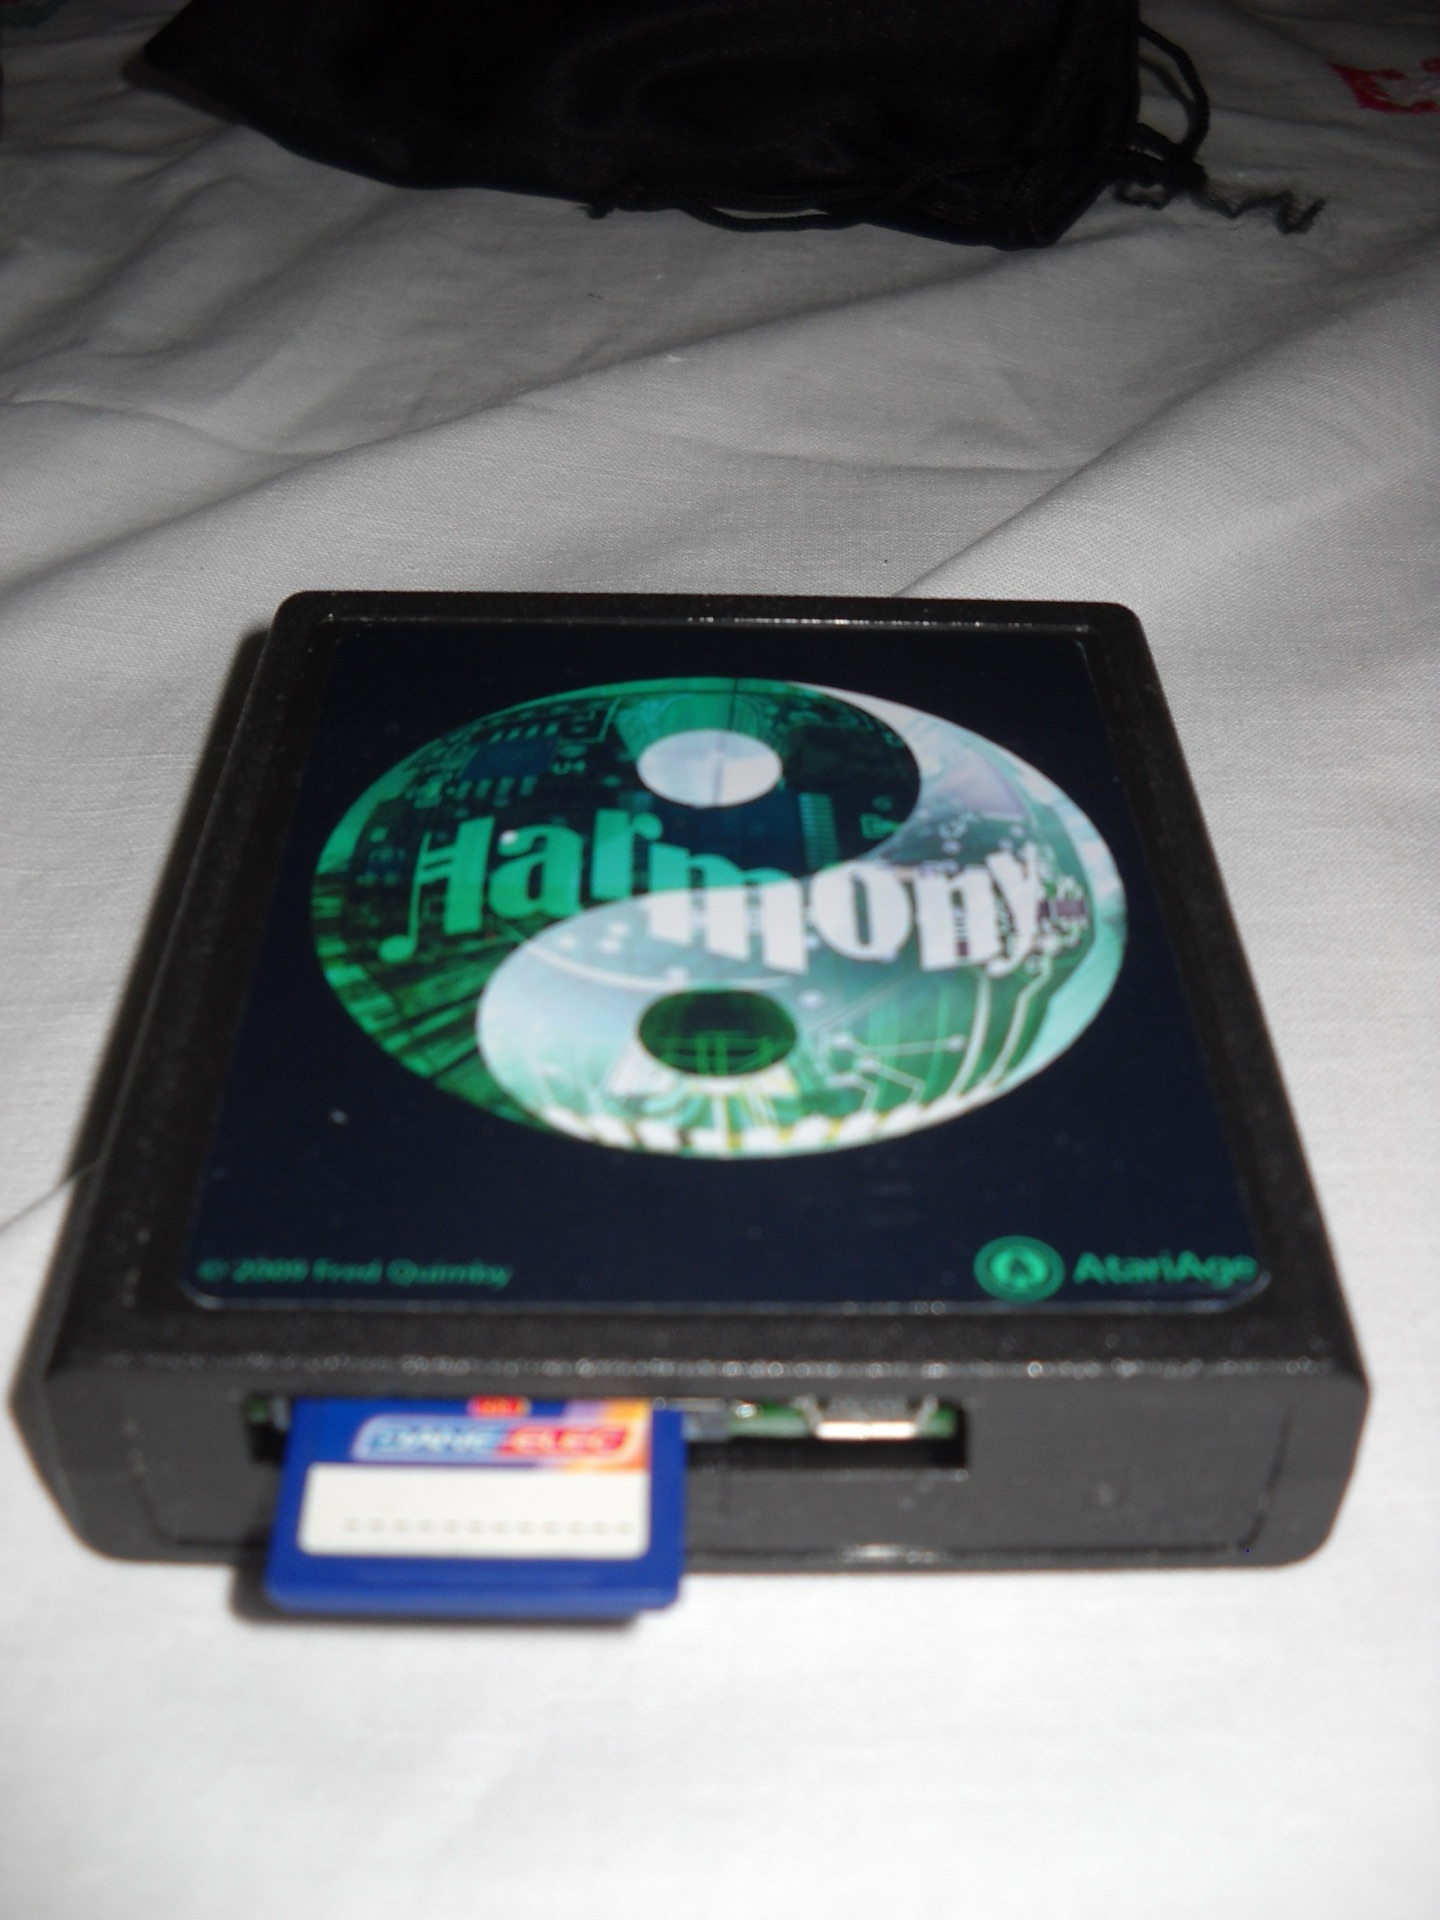
Cartucho HarmonyA programação para Atari 2600 é uma curiosidade que já me levou a escrever artigo e minstrar palestras sobre o assunto. Vira e mexe estou lendo e experimentando, e até acredito que um dia alguma dessas brincadeiras pode se tornar um jogo de verdade.

Um bom emulador é necessário para programar para qualquer dispositivo, seja ele um celular ou um console. O Atari tem o excelente Stella (cujo debugger é bom até para quem só quer entender como algum jogo funciona). Mas é igualmente importante testar o programa no console “de verdade”, pois só lá os detalhes vão aparecer.

Meu próprio Apple II de garagem

10 Feb 2003

Apple IIGS montado num gabinete de tupperwareCorrendo o risco de denunciar meus vinte e muitos anos, confesso que boa parte da minha formação como programador veio dos saudosos clones do Apple II (TK3000, Unitron AP II, etc.). Juntando o desejo de voltar a brincar com uma dessas máquinas com o sonho de moleque de ter um Apple IIGS (modelo mais avançado que não chegou ao Brasil), resolvi comprar uma placa-mãe de IIGS no eBay (lá vendem o micro completo de baciada, mas o envio é proibitivo), improvisando um gabinete e adaptando periféricos de PC/Mac.

Sim, o “gabinete” é um daqueles recipientes plásticos de comida (“tupperware”, ou algo assim, no jargão da cozinha). Não é uma idéia original, nem a mais bizarra do planeta: o Applefritter mostra Macintoshes nos gabinetes mais bizarros, desde os montados com Lego até um aspirador de pó! Segue o artigo completo da montagem.